GRP is one of the most widely used systems in various domestic and commercial properties in the UK. Its cost-effectiveness, easy installation, longevity, and no heat requirements are some of the reasons for its popularity.
This article helps you understand GRP flat roofs and their benefits. It also provides information regarding its installation method and some important considerations.
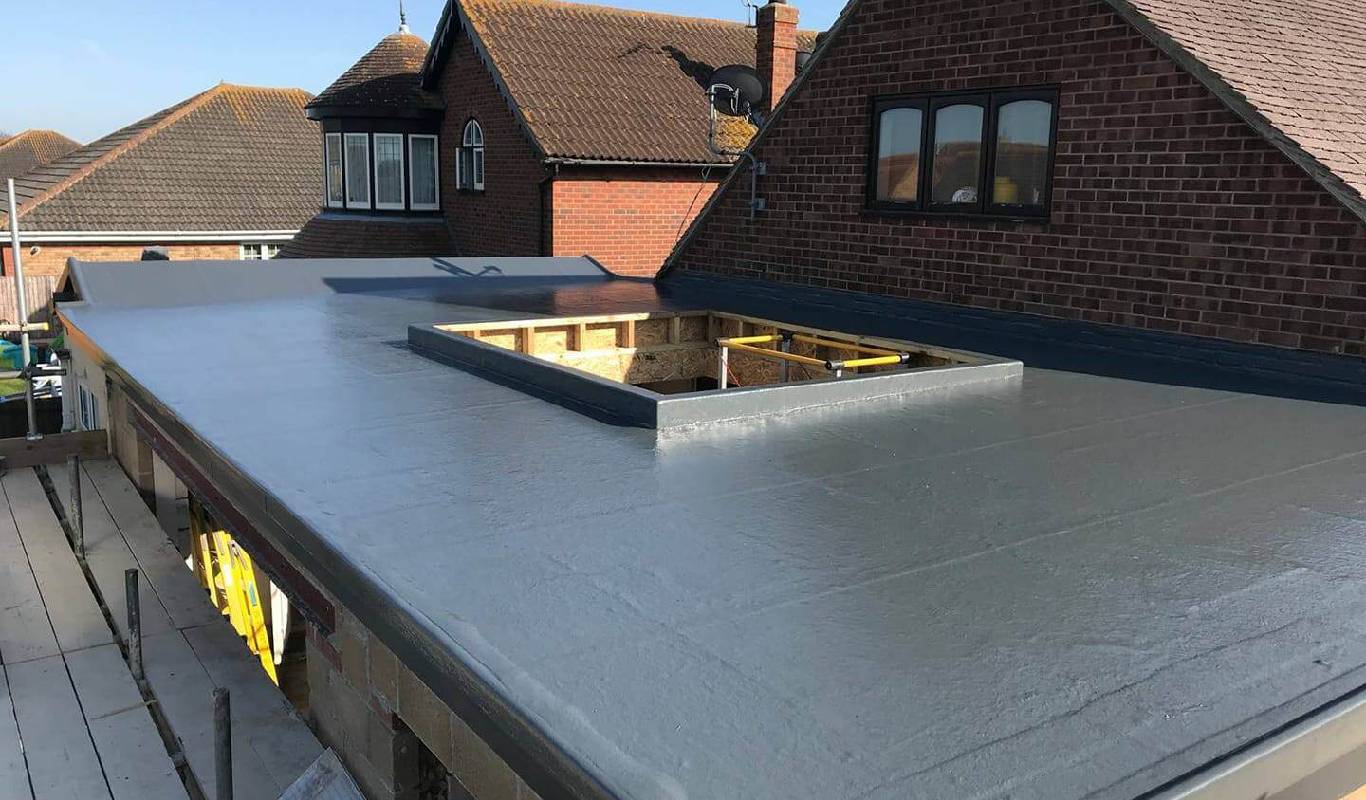
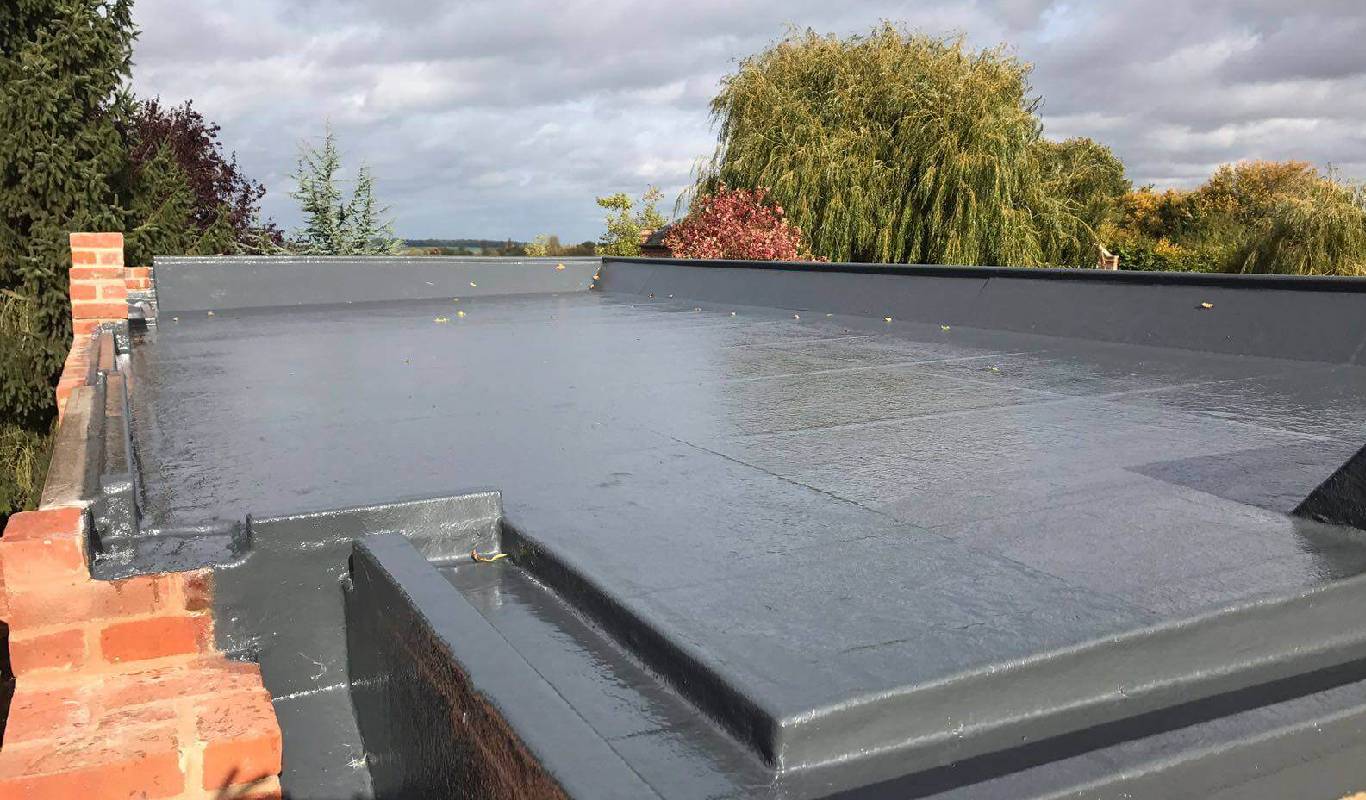
GRP Flat Roof
GRP is the acronym for Glass Reinforced Polyester, and this type of roof system is also known as fibreglass. It can be installed in less time and provides efficient coverage even for larger areas, including commercial properties, industrial complexes, warehouses, etc. It involves the cold application of a specialised resin layer between fibreglass matting which helps to create a durable and waterproof covering.
Benefits of GRP Flat Roof
GRP flat roofs are durable and strong, which means they last longer with proper maintenance. There are no seams in the roof, and a waterproof covering is also installed over it, which makes this type of roof less susceptible to cracks and leaks. This roof is easy and safer to install as there is no heat involved in the installation process; rather, it is laid cold by utilising a special resin that gets cured upon the addition of a catalyst.
GRP can be easily installed over a roof of any design or shape by cutting the materials to size and making the required trims to cover the entire surface evenly and seamlessly. Moreover, if any part of the GRP roof gets damaged, the damaged area can be treated conveniently while the rest of the system remains intact. This characteristic makes GRP flat roofs a viable and cost-effective option for a variety of properties.
Installation Process for a GRP Flat Roof
The installation method for GRP flat roofs is relatively easier and straightforward as compared to other roof systems.
- Remove the old decking.
- Check that all the roofing joists are rot-free and structurally sound.
- Lay OSB3 boards perpendicular to the roof joists in lengthways, keeping the writing side upward.
- Align the board’s end with the fascia and trim the last board in the row flush with the fascia.
- Use compressed air or a gas-powered nail gun to fix the boards to timber joists efficiently.
- Use nails or staples for fixing all the trims to the decking board.
- Take a skeleton gun for applying PU adhesive to the batten around the roof’s perimeter.
- Rub the trims into place so that a strong bond can be developed.
- Hold the trims in place with their face in the vertical direction for driving fixings at each end and then in the middle.
- Mix a small quantity of resin for laminating the corners and bandaging the trims.
- Mix the catalyst into the resin thoroughly.
- Ensure the deck is clean and dry with all trims fixed in their respective places.
- Lay the chopped strand mat by overlapping its feathered edge on top of the cut edge.
- Roll out the mat strips across the entire roof.
- Cut off the ends into the trim’s corner, using a Stanley knife to make the edges neat and straight.
- Feather the corners into place by using a paintbrush and a small consolidating roller.
- Add 1/3rd and 2/3rd resin to the board and the mat, respectively.
- Wait 2 to 3 minutes for the resin to get soaked into the mat.
- Use the paddle roller and apply a little pressure by rolling back and forth along both the edges and the end of the wet mat.
- Take a sanding pad to sand the corners and trim the bandages.
- Cut the excess cured mat if it protrudes beyond the trim by using a sharp Stanley knife.
- Seal the edges with abutting walls by applying a clear silicone sealant.
- Apply the topcoat soon after the semi-curing of the laminate.
- Use a polyester roller to cover the laminate with a sufficient amount of topcoat and coat the trims.

Important Considerations
It would be best if you kept these things in mind to ensure the effective installation of a GRP flat roof:
- Check the weather forecast before starting the installation process to prevent potential problems.
- Ensure the temperature is below 35°C when resin or topcoat is applied to achieve a perfect finish.
- Lay the OSB3 boards starting at the furthest edge from the drip and leave an expansion gap of 25mm while laying a board along a wall.
- Mix resin in small batches so that you can have sufficient time for application before it starts catalysing.
- Apply laminate in the shortest possible run across the entire roof structure so that the resin does not harden quickly.
- Apply the topcoat when the roof is not directly exposed to sunlight.