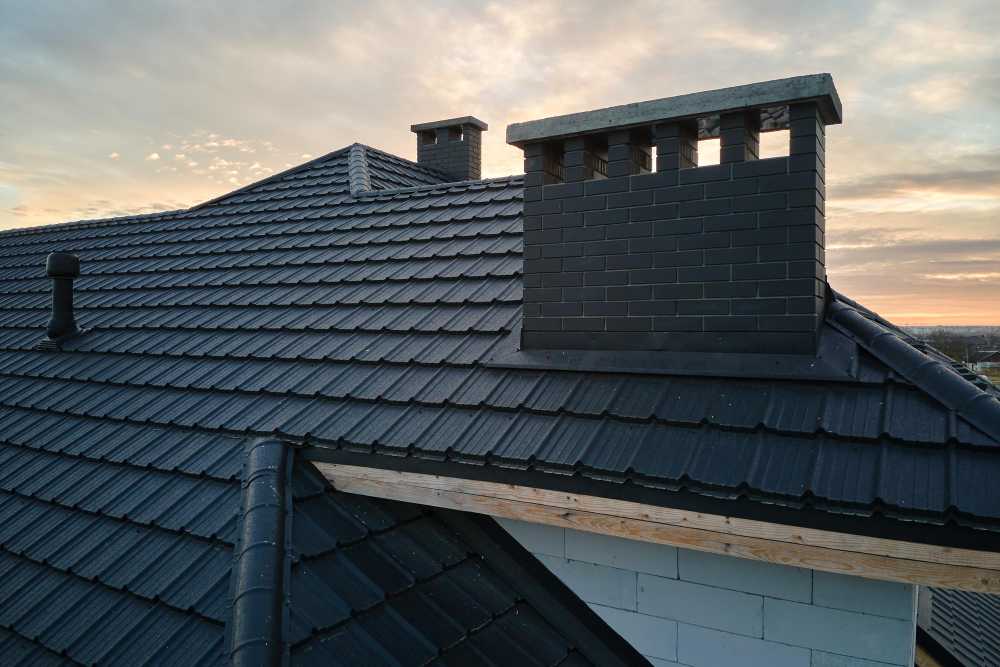
With felt underlay installation, you can make your property’s roofing structure stronger and more versatile. It helps to create a robust barrier against harsh weather conditions, such as heavy rain, snowfall, and winds.
In this article, you will learn about the required tools and supplies, the steps for installing the roofing felt, and some important considerations to remember during the process.
Which Tools and Supplies Do You Need?
The following are some of the tools and supplies for roofing felt installation:
- Chalk
- Nail Gun
- Measuring Tape
- Adhesive Material
- Roofing Felt Paper

The Process of Roofing Felt Installation
The installation process for roofing felt comprises the following steps:
Roofing Structure Preparation
- Calculate your roofing area by measuring its length and width.
- Draw a vertical line on the felt paper, marking the length of your roofing structure by including the front and rear overlaps.
- Clean the roof decking of all the old felt pieces and dirt and let it dry if any moisture is present.
- Run a flat bottom shovel over the roof decking.
- Clean the adhesives from the decking surface.
- Pull out all the stray nails, screws and wood splinters to have a clean and smooth decking surface.
- Replace or repair the rotten decking parts before laying the roofing felt.
- Snap clear and straight chalk lines above the eave lines.
Laying Roofing Felt
- Apply roofing felt on the overlapping layers.
- Start from the roofing’s lower edge, rolling out the felt and aligning it with the chalk lines before you cut it.
- Track down the tar paper from the centre so it cannot blow away.
- Cut the paper with a knife at the rake to adjust and align it with the chalk line.
- Secure the paper by stapling or nailing it every 3 to 4 inches, placing the nails and staples on the paper’s lower half.
- Cut a slit and put it over the pipe to fit paper around the vent pipes.
- Walk the row to make all the rough spots smooth and match up with the chalk lines.
- Ensure the tar paper lies in flat and smooth strips, and there should be no wrinkles or spots where moisture could develop.
- Lay the second layer of roofing felt over the first layer using a suitable adhesive.
- Allow the roofing felt to get settled in place, preventing the formation of air pockets and allowing the creases to get smooth.
- Adhere the top layer of mineral cover over the second layer of roofing felt.
Finishing
- Install any edge flashings and verges, preventing driving rain over the roofing’s edge and avoiding potential damages.
- Inspect the entire roofing structure to assess if any additional work or more adhesive touch-up is required at any spot.

Important Considerations
The following are some of the crucial things to remember while installing roofing felt:
- Check the weather forecast and start the project when there is no rain for several upcoming days.
- Thorough preparation of roofing structures is crucial to ensure a quality finish and successful project completion.
- Ensure the deck surface is resistant towards moisture.
- Avoid laying roofing felt paper on wet sheathing to avoid mould and mildew growth, ensuring a waterproof roofing structure that stands the test of time.
- Apply the roofing felt by starting from the roofline’s bottom part and moving upwards so that tar paper can shed down.
- Overlap the two adjacent rolls by 4 inches when a roll ends and the new one begins.
- Overlap the two adjacent papers by 6 inches over the hips, valleys, and ridges.
- Avoid joints occurring in the same place while laying the second roofing layer over the first.
- Apply the adhesive material gradually while rolling on the 2nd layer of roofing felt in sections.
- Install gutter drip trim by overlapping the second layer of roofing felt so water can directly flow into the gutter without infiltration underneath the decking.
Final Words
You should take proper time to prepare the sheathing so that the roofing felt installation process can be completed efficiently and quickly. Installing the underlayment then allows you to place the shingles on a smooth surface to ensure a perfect finish.

