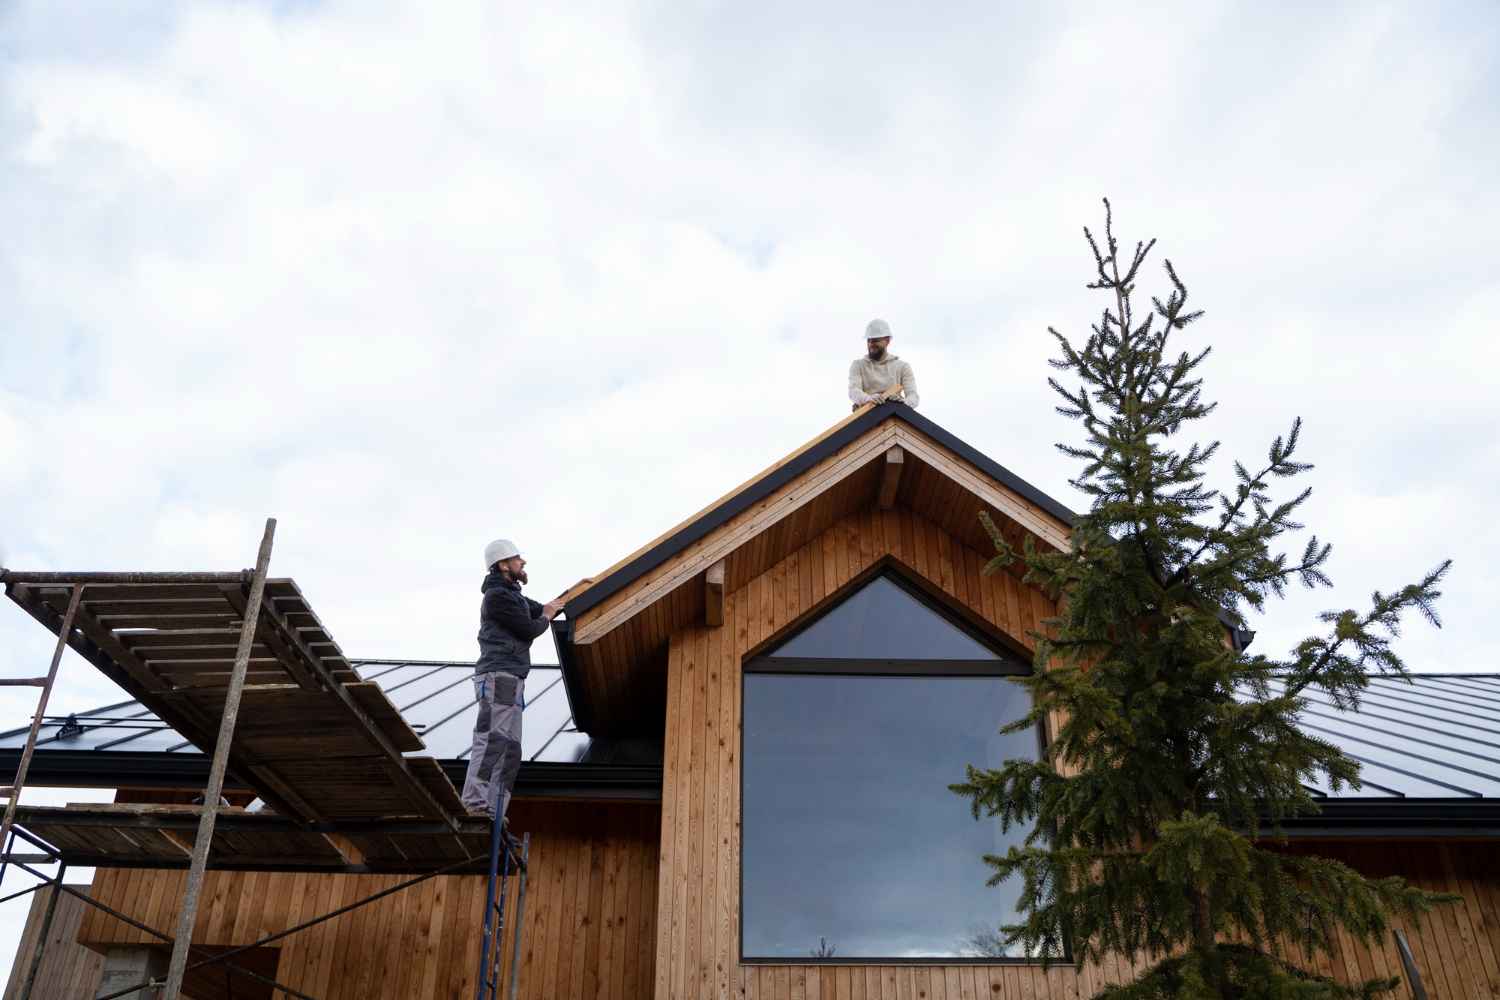
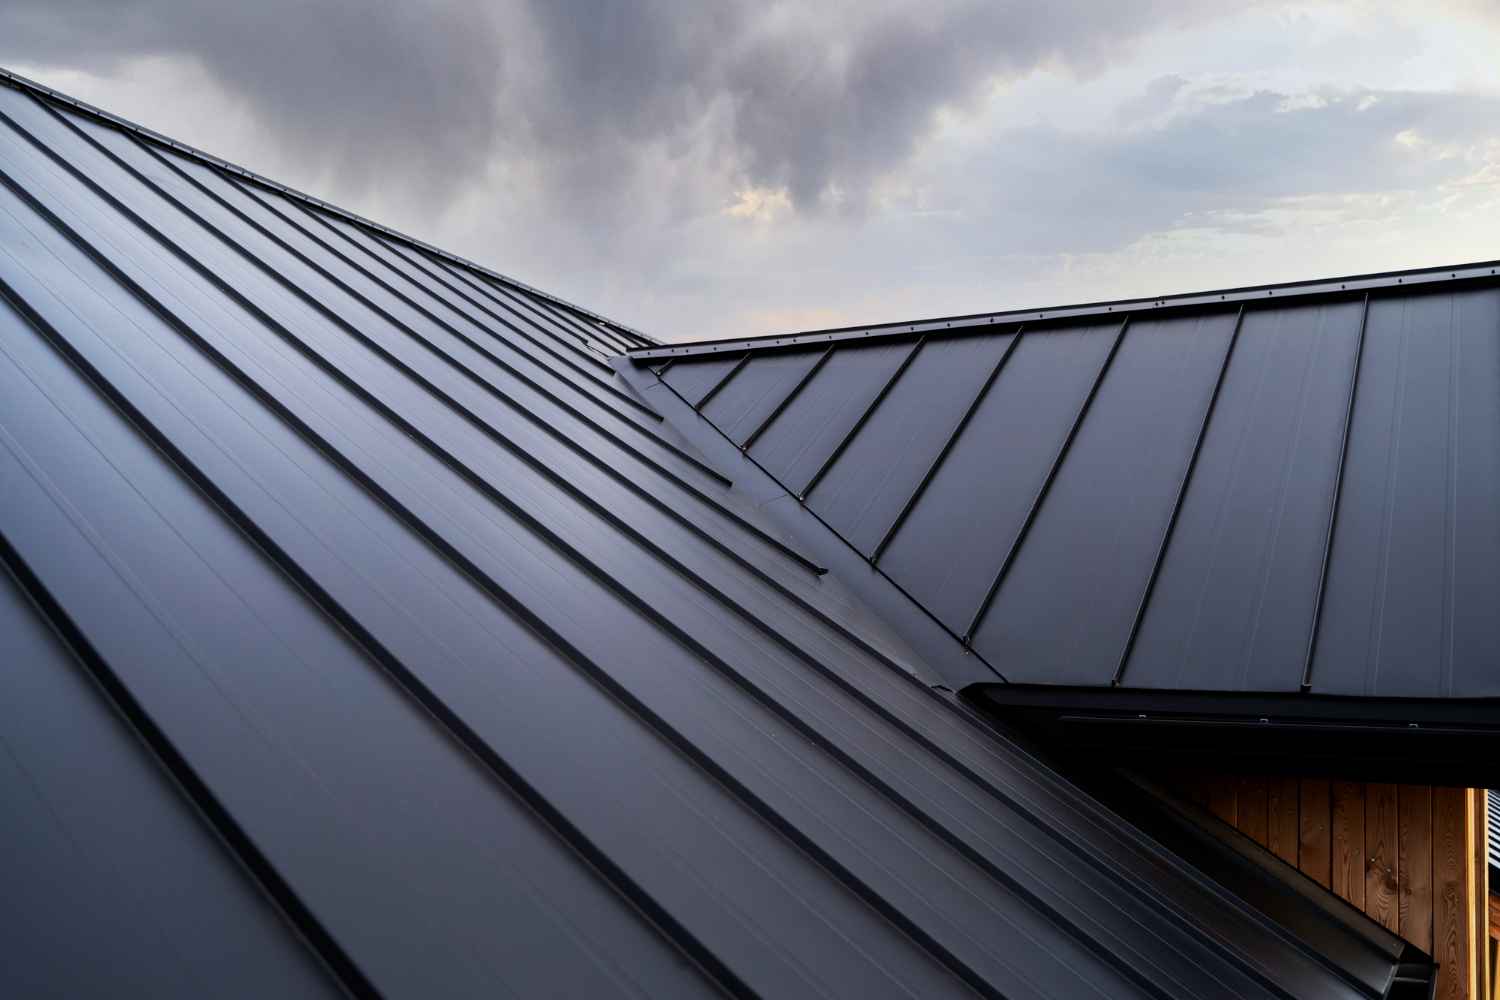
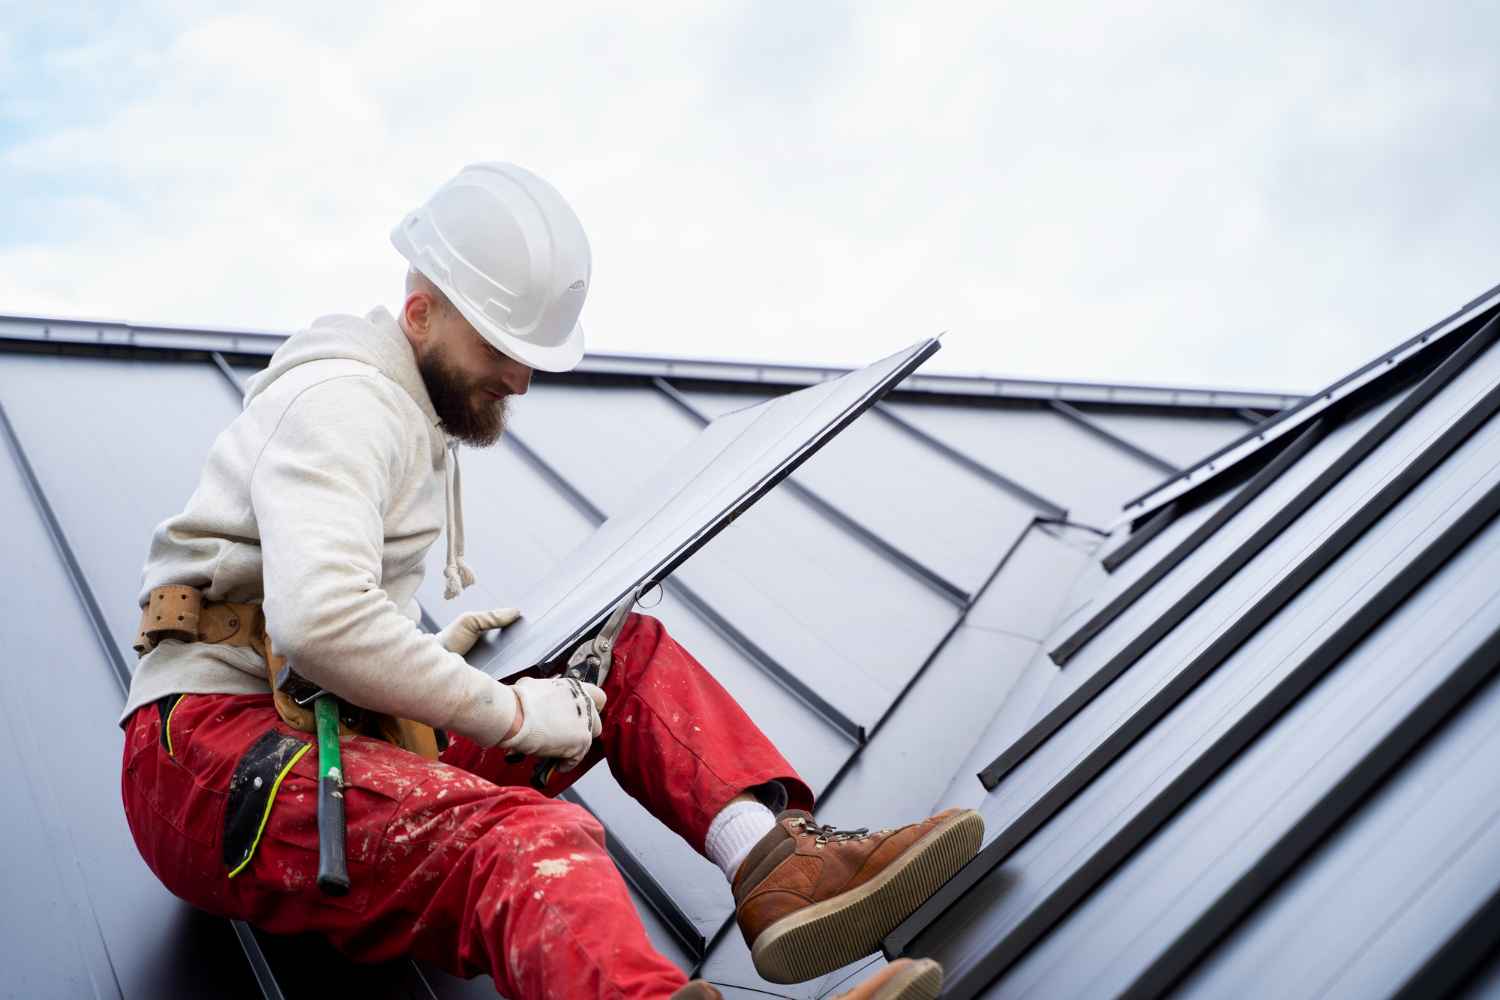
Fibreglass roofing, also known as GRP (Glass Reinforced Plastic) roofing, is an excellent choice for flat roofs due to its robustness and ability to withstand the elements. It’s durable, low-maintenance, and can last up to 30 years when installed correctly. Unlike traditional roofing materials, fibreglass offers a seamless finish that is not only watertight but also highly resistant to cracks and leaks. In this guide, we will break down the installation process for a fibreglass roof, offering detailed insights to help you understand each phase of the project.
Preparing the Roof Surface
Preparation is the foundation of a successful fibreglass roof installation. The roof surface must be clean, dry, and free of any debris to allow for a smooth installation. Follow these steps to prepare the roof surface:
Clear the Roof Area: Begin by removing any debris, old roofing materials, or protruding elements on the roof.
Inspect for Damage: Check for any damage on the decking surface. If there are any weak spots, these should be repaired or replaced to ensure a strong foundation for the fibreglass layers.
Create a Level Surface: Ensure the surface is flat and free from bumps or uneven areas, as this will prevent air pockets from forming during installation.
Laying the OSB Decking Board
Fibreglass roofing requires a solid, stable base, and OSB (Oriented Strand Board) is the ideal choice for this purpose. OSB decking boards are both sturdy and cost-effective. Here’s how to install them:
Cut and Position the OSB Boards: Start by cutting the boards to fit the roof area. Make sure to leave space around the edges for any flashing.
Secure the Boards: Fix the OSB boards in place using high-quality screws or nails, spacing them about 150mm apart along the edges and at around 300mm in the centre of each board.
Seal the Joints: Apply a strip of fibreglass tape over the joints between boards to create a smooth, seamless surface. This helps to prevent any movement or moisture infiltration that could lead to leaks.

Applying the Trim
Trims are essential in fibreglass roofing as they ensure water doesn’t seep into the structure. You’ll need different types of trims, such as edge trims and expansion trims, to provide proper water drainage and structural support. Here’s the process:
Fix the Edge Trim: Start with the perimeter of the roof. Attach the edge trim around all sides of the roof, using a combination of screws and adhesive.
Install the Expansion Trim: For larger roofs, expansion trims are necessary to allow for temperature changes. These trims prevent cracking and warping by providing a little flexibility in the roof.
Sealing the Trims: Make sure to seal any joints in the trim to ensure water doesn’t find a way through. Silicone sealant or fibreglass tape works well for this purpose.
Preparing and Mixing the Resin
The fibreglass roofing system uses a combination of resin and fibreglass matting to create a durable, waterproof barrier. Resin is the bonding agent that holds the fibreglass matting in place. Here’s how to prepare it:
Choose the Right Resin: The resin typically used for fibreglass roofing is polyester or epoxy resin, which cures quickly and forms a hard, waterproof surface.
Measure and Mix: Accurately measure the resin and hardener according to the manufacturer’s instructions. The mixture will cure quickly, so it’s essential to mix small batches to avoid waste.
Consistency Check: Ensure the resin is mixed well for a smooth application. The correct consistency will make it easier to apply over the fibreglass matting.
Laying the Fibreglass Matting
With the resin prepared, it’s time to apply the fibreglass matting, which provides the roof’s structural strength.
Cut the Matting to Size: Measure and cut the fibreglass matting to fit the roof area. You’ll want to overlap sections slightly to ensure complete coverage.
Apply the Resin: Using a roller, apply a thin layer of resin over the OSB decking.
Lay the Matting: Carefully place the fibreglass matting over the resin layer, pressing it down to remove air bubbles and ensure it adheres well to the surface.
Roll Over the Matting with Resin: Once the matting is in place, apply another layer of resin over it, using a roller to ensure full coverage and an even finish. Be thorough, as any gaps could lead to leaks.
Applying the Topcoat
The top coat is what makes the fibreglass roof waterproof and UV-resistant, providing a smooth and durable finish. It’s usually a pigmented layer that seals the matting in place.
Choose Your Topcoat: Fibreglass topcoats are available in various colours, with grey and black being the most common choices for a neat, professional look.
Apply Evenly: Using a roller or brush, apply the topcoat evenly over the entire roof surface. Make sure to cover all areas and edges thoroughly.
Check for Uniformity: Ensure the topcoat is applied consistently for a smooth, seamless finish. This layer will protect the fibreglass from UV rays and environmental elements.

Curing and Final Inspection
Curing is the process that solidifies the resin, creating a hard, durable surface. Here’s what to do:
Allow for Proper Curing: The roof will need around 24 hours to fully cure, depending on temperature and humidity levels. Avoid walking on the roof until it’s completely set.
Inspect the Roof: Once the roof has cured, inspect it carefully. Look for any air pockets, missed spots, or uneven areas that may need touch-ups.
Clean the Area: Remove any excess resin or fibreglass particles from the surrounding areas for a clean, professional finish.
Conclusion
Fibreglass roofing is a fantastic solution for flat roofs, providing a watertight, durable, and low-maintenance covering that can last for decades. By following each step carefully—from preparing the surface and installing OSB decking to applying the resin, matting, and topcoat—you can achieve a high-quality, professional result. With the right materials, tools, and attention to detail, a fibreglass roof installation can be a rewarding DIY project or one well worth the investment when handled by professionals.

